Friday 22 December 2017

Quilts are for life not just for Christmas...

Hello my lovely blog readers!

Today we have the Christmas Quilt Photopolymer Bundleto share with you.  In the bundle you get the Christmas Quilt Photopolymer Stamp Setand the Quilt Builder Framelits Dies* but you save yourself 10% of the price compared to buying them separately (Bundles = Bargains!) HOWEVER, this bundle is only available until 2nd January 2018!!  Unfortunately these products are set to retire as the Autumn/Winter 2017 catalogue's sales period comes to an end on 2nd January 2018 :(

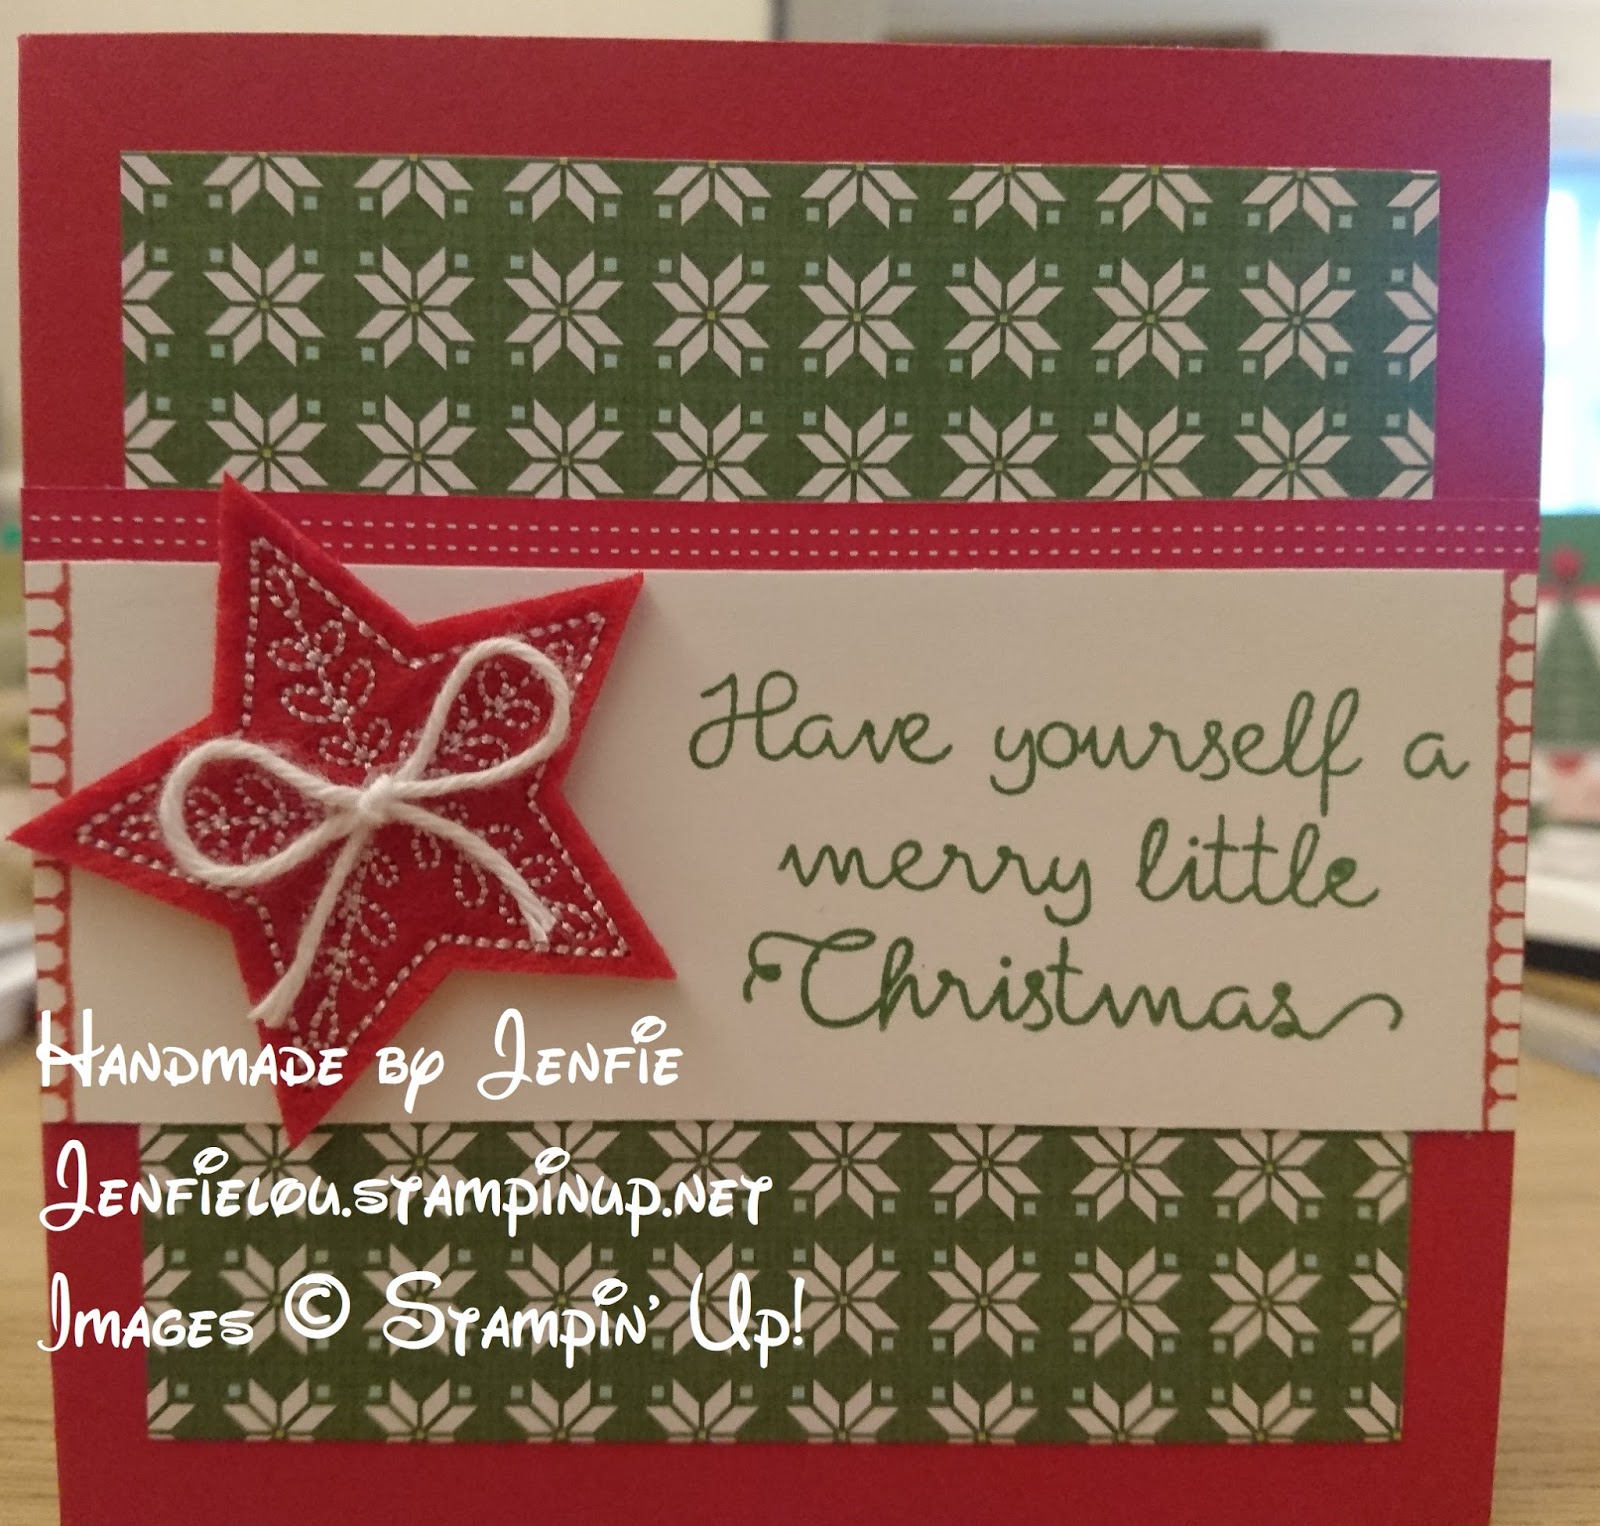
Here are my favourite cards created using this bundle! 

Like I said, quilts are for life not just for Christmas! I actually used this bundle for the first time not to make a Christmas card, but to create a cute little birthday card for my niece's 2nd birthday:


At my open day a few months back, my mum asked for a card to give to my aunty - they are both into their needlework/knitting/quilting that I thought the Quilted Christmas bundle would be perfect.  So, I thought what better than for my mum to make the card herself and try her hand at papercraft quilting!  Look at the amazing card she made (with very little assistance from me I might add!) - with the peacock colour scheme to match the gift she had bought, I think it turned out just fab!  


You can see more cards I made using the bundle on my previous blog post here Quilted Christmas with Cookie Cutter Surprise.  

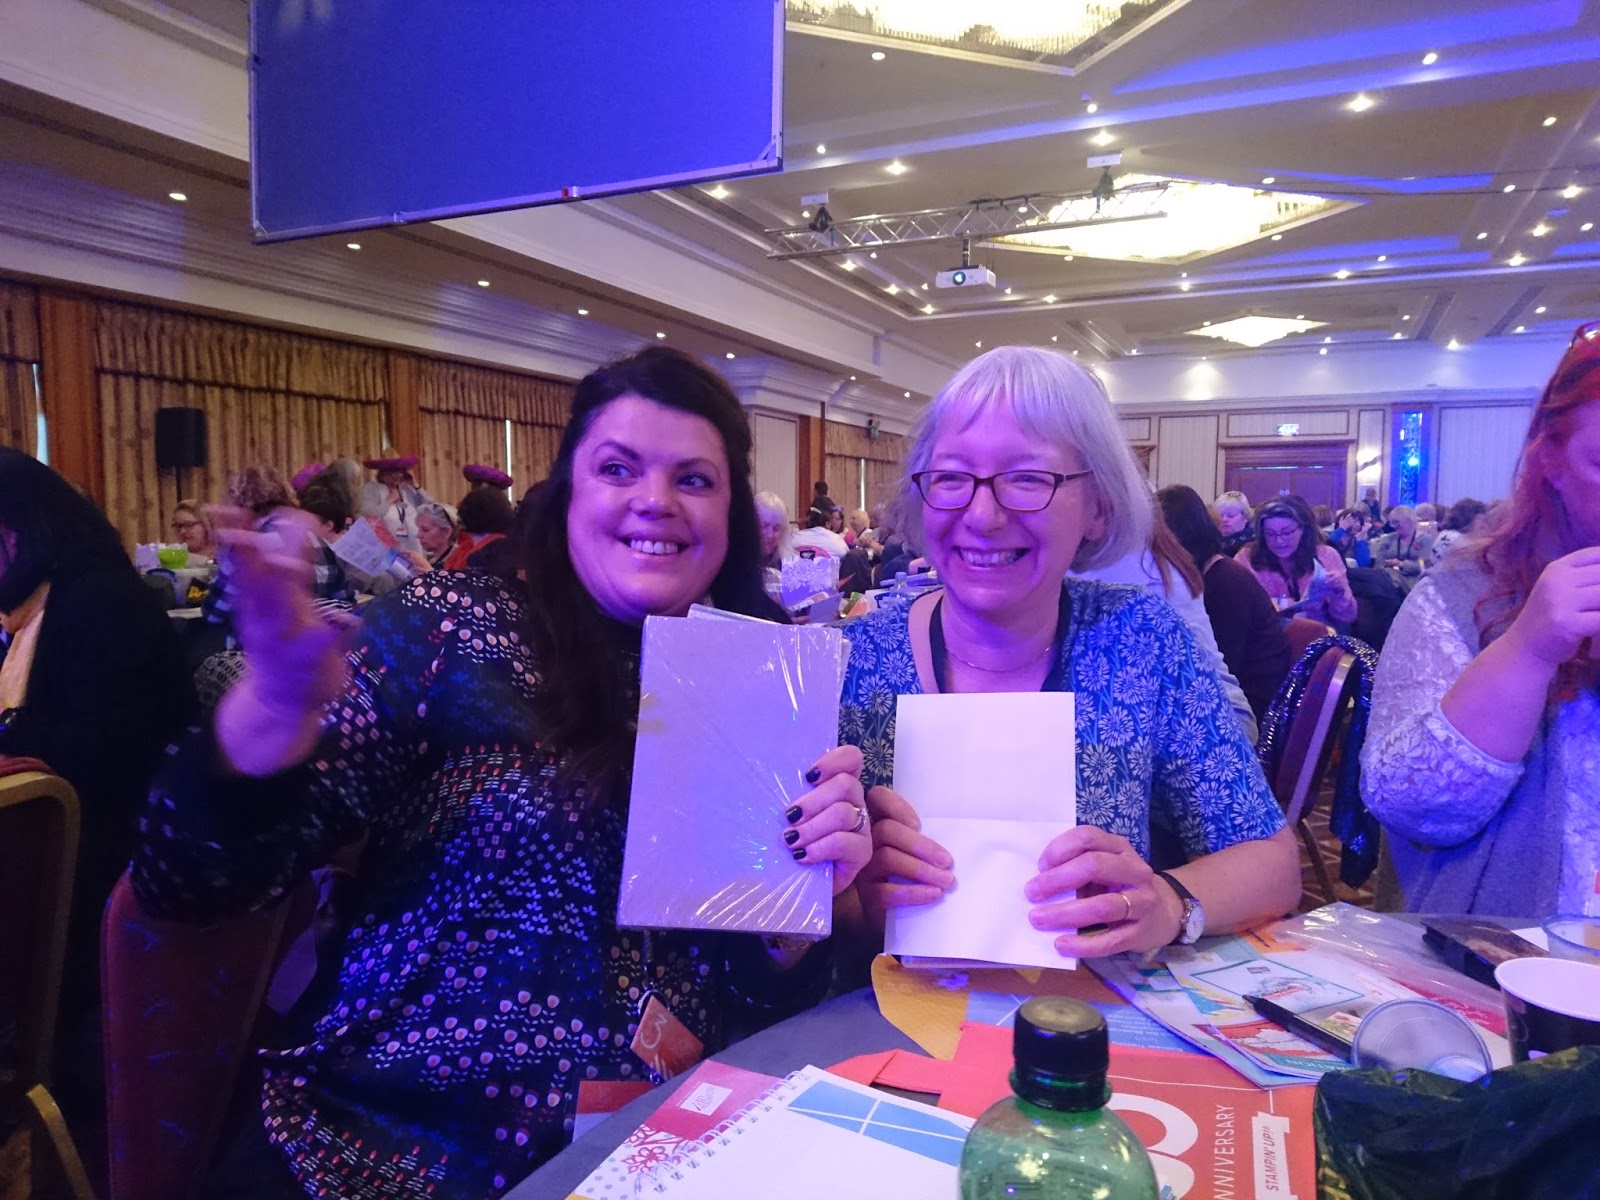
Lastly for today, at the Christmas Card Create Evening Class held in November, our lovely ladies also wanted to use this gorgeous Christmas Quilt Photopolymer Bundle*Quilted Christmas 6" X 6" (15.2 X 15.2 Cm) Designer Series Paperand Stitched Felt Embellishments*, here are the cards they each created on the night!   


I was so proud to hear that one lady who thought she may struggle at the beginning of the evening, was so pleased with how her cards turned out that she just wanted to put them on her own mantlepiece and admire them!  They all did such an amazing job, I can't wait to craft with them again in the new year! 

If you are able to get to Chesterfield, Derbyshire, UK, then YOU can craft with me too!  Why not pop along to my Spring/Summer Occasions Catalogue Launch Open Day on Sunday 7th January 2018.  For more details please give me a call or text me on 07841518863 or contact me through my website at jenfielou.stampinup.net  I'd love to see you and share the wonderful new products and offers with you!

The cards shown above also feature the below products:

Available in the current Annual Catalogue 2017/18


Merry Patterns Photopolymer Stamp set - Retired exclusive Hostess set

Available in the Autumn/Winter Occasions Catalogue

*These are last-chance items and are available while supplies last.  After 2 January 2018, they will no longer be available.  Some items may be reduced from catalogue list price in Year-End Sale offer.

Just in case I don't manage to get another blog post in before Christmas then may I wish you all a VERY MERRY CHRISTMAS AND A HAPPY NEW YEAR! 

Love Jenfie
x


Monday 11 December 2017

Today's the day for FREE DELIVERY!

I'm a bit late posting this but have a quick update for you to share Stampin' Up!'s Christmas Surprise - we are giving you FREE SHIPPING!  For the UK free shipping runs from now until 11:00 PM (because the UK is an hour behind the rest of our EU markets, Europe have until midnight!) make sure to use hostess code TVFFYUXQ with your order 🎁 and I will send you an extra free gift!

Any orders placed before Thursday 14th December 2017 should be delivered in time for Christmas so if you have any crafty friends or family members, why take advantage of today's special free delivery offer with no minimum spend and get them something extra special this year?

Jenfie
X

Monday 4 December 2017

Be Merry Kit - Rosette Tree Ornaments

So I'm guessing that many of you will have put up your Christmas trees this weekend with it being the first weekend of December?  Do you feel that there's just a little something missing?  Would you like to make an extra special gift tag for your presents? Or would you like to give a handmade gift to your loved ones this year, one that they can add to their own Christmas tree?

Well, look no further than the magnificently festive Be Merry Kit* from Stampin' Up! 


This great value all-inclusive kit contains 12 ready to assemble rosettes and all the trimmings necessary to decorate in very festive Old Olive greens, Real Reds, and glistening golds! 


So, to make your rosettes, you will first need to split up your red and green shimmery tulle circles - this is the most time consuming part, I found, as they are very thin and all stick together!  As you can just make out from image 1 in my collage below they are very fine when separated and there are only a few extras in the kit so make sure you split them up first so you don't run out for your last rosettes.  You will need 9 circles for each rosette - 6 groups of green and 6 groups of red (or you can mix them up if you want multi-coloured rosettes).   

All the rosettes are pre-scored and folded with an adhesive strip for quick and easy assembly, just peel the backing from the adhesive strip and stick the two ends together (image 2).

Starting one fold away from the adhesive, and skipping every other fold, stick the tulle circles to the rosette.  To do this, pinch the centre of one tulle circle so it bunches together, apply hot glue to the small folded end of the tulle and stick it between the folds about 1/2" from the centre. (image 3)


I then used a Fine-Tip Glue Pen to adhere the "Merry" greeting to the wooden banner (image 4), which was then fixed to the tree or candy cane die cuts (after pushing out the middle pieces) using Mini Stampin' Dimensionals (image 5).  The green and red glimmer paper circles were fixed to the gold foil doily using Stampin' Dimensionals (image 6).

Using hot glue, stick the gold doily to the centre of the ornament, this will cover the gap from the middle to the tulle pieces (image 7 & 8).  The tree and candy cane die cut circles should then be adhered to the glittered pieces again using hot glue.  Make sure to have the string at the top of your ornament before adhering your final circle so that your shape and greeting are the right way up when hanging on the tree! 

If you want to use your rosette as a gift tag, or want to write on the white circle on the back, make sure to stamp or write on the circle BEFORE adhering it to the back of the rosette!  You could also make the rosette into a badge by putting a safety pin between the rosette and the circle when adhering together.


Finally, tie a bow with a piece of the red or green ribbon and stick to the top of the the ornament over the string using hot glue.  Trim the ribbon to suit.  You could also stick the ribbon to the bottom or even behind the doily if you prefer - there is no right or wrong way to put them together really as you can be as creative as you want to be!   I have plans to finish my remaining ornaments off using some of the Foil Snowflakes* from the seasonal catalogue behind, or even instead of, the gold foil doily! 


Here are my finished rosette ornaments, made casing the catalogue and following the instructions in the kit.  However, the variations are endless just follow your creativity - I'd love to see some of your creations!


I was lucky enough to share these rosettes with the lovely ladies at CTWI Craft Club, whilst I gave everyone the same instructions as I have done above, you can see below some of the wonderful variations and creativity peeking through! 


*These are a last-chance item and are available while supplies last. After 2 January 2018, they will no longer be available.   

If you are ordering any supplies for Christmas gifts, please make sure to place your order by Thursday 14 December 2017 for delivery before Christmas, orders placed after this date are not likely to arrive in time for Christmas.  

Don't forget to use the NEW hostess code TVFFYUXQ with your order, if under £150 before shipping, and I will send you an extra thank you!  This code is valid throughout December 2017 only.

Happy crafting to you all!

Jenfie
x

Thursday 23 November 2017

The overwhelming OnStage Awesomeness!

HELLLOOOOOOOOO, I'm still alive! 

Oh My! I have totally left my blog behind this past month - for those who come back and check frequently I do hope you can forgive me!  I will do my bestest to make up for it!  SO much has been happening in the last month that time has literally just flown by! 


Almost two weeks ago now, I was lucky enough to secure a place at the Stampin' Up! local OnStage annual training and recognition event for Independent Demonstrators across the country (/continent/world).  It was the first time I've been to an event like it and I had such a wonderful day! 


It was such an overwhelming day, starting off with a bag full of Stampin' Up! goodies, including this gorgeous mug! 


There was also the opportunity to meet some of the amazing Stampin' Up! staff (I was a bit fan girl-y and shy as I recognised them and unfortunately I didn't pluck up courage to get photos with them  - maybe next time I'll be able to act a bit more "normal" around them and just ask haha!).   

Swaps with fellow demonstrators - it was amazing to see all the different cards and gifts other demonstrators had made and were swapping with each other.  As it has been such a busy time for me I wasn't able to make any swaps to take with me :( so I decided to get into the spirit of the weekend and at least paint my nails accordingly with the 2017-2019 In Colors (or at least as close as we could get!) What do you think?


It was so incredible to be able to spend a day with fellow demonstrators - meeting friends I'd spoken to on our team facebook group but never met, meeting so many new people who all share the same passion for their craft business and the amazing Stampin' Up!.  Here are a few photos of some of our team:


Our OnStage table trio, with the wonderfully lovely Netty, and my fabulous upline Monica :D

With Crafty Ness -Vanessa and  OnStage demonstration presenter extraordinaire Ruth

with Queen Bee - Sally
However, the absolute best part of the day - the chance to see, use, and WIN brand new products from the upcoming Spring/Summer catalogue which will be released on 3rd January 2018! Here is my upline Monica and roomie Fanny with their prize patrol goodies!! (we had to cover them up as we were restricted with sharing images of them straight away!)


If you would like to be one of the first to receive your very own copy of the new catalogue in the new year, please send me a request through my website at Jenfielou.StampinUp.net and click on Contact Me and I will be able to send you one out as soon as they come in!  

Before I can share all the new products with you all, I still have a number of creations using products from the current Annual Catalogue and the current seasonal Autumn/Winter catalogue that I want to share with you before they are no longer available!!!   Please contact me, via my website at Jenfielou.StampinUp.net if you would like either of these catalogues sending to you now so that I can get them to you before the seasonal sales period ends, there are so many things that would make EXCELLENT Christmas presents for your creative and crafty friends, family, colleagues, etc! 

Finally, for anyone in the Chesterfield, Derbyshire and surrounding area, I have my final Christmas Card Create Class being held in Duckmanton, Chesterfield on Sunday 3rd December 2017.  


  • Class cost is £10 per person, and you will make 4 cards (one of each design) from the Watercolor Christmas card kit.  All supplies and light refreshments will be provided. 
  • Classes are kept to friendly small groups and held in my home, therefore, places are very limited - Please contact me ASAP (through my website or give me a call/text on 07841518863) by Saturday 25th November 2017 to be sure to secure your place.  
  • If you would like to make more than 4 cards, then why not purchase the full Watercolor Christmas card kit for £18 and you will have enough supplies to make 20 cards (5 of each of the 4 designs, stamp set available separately as Clear Mount or Wood Mount!)  This class will be free for you with this purchase.
  • If you wish to order the full kit, please ensure order and payment in full is with me by 7pm Saturday 25th November 2017 so that I can try to make sure the order is placed with time for delivery!  
So, my plan is that over the next few weeks I will be sharing more frequent blog updates, showcasing a selection of the products available in the current and future catalogues and my creations made with them!  I'm off to write the first one now so be sure to come back soon! 


Jenfie 
x

Friday 20 October 2017

Merry Patterns - Exclusive! - Find out how to EARN or WIN a FREE Stamp Set!

Helloooo

There are only 12 days left of October (11 days and the rest of this evening if we're a bit more accurate) meaning time is running out to take advantage of the two amazing offers currently running from Stampin' Up!  

The Designer Series Paper SALE! - Buy 3 packs of Paper and choose a 4th pack for FREE - click below for a list of selected papers included in this offer and add them to your basket now! 


and the Merry Patterns EXCLUSIVE Stamp Set promotion


Today I'd like to share a couple of very quick and easy cards made using the Merry Patterns EXCLUSIVE Photopolymer Stamp Set.  This set can be yours for free!  Full details of how to earn or WIN this exclusive stamp set can be found at the end of the post so keep reading to the end!! (or scroll down to the bottom now if you can't wait!)


My first card uses only the two stag stamps (one outline, one patterned body) from the Merry Patterns stamp set, two ink pads from the Neutrals Classic Stampin' Pads collection - Chocolate Chip Classic Stampin' Pad and Early Espresso Classic Stampin' Pad, and both cards were stamped straight on to Whisper White Note Cards & Envelopes (5" x 3 1/2", 12.7cm x 8.9cm)


For the second card I used Smoky Slate Classic Stampin' Pad for the outline of the candles, Fresh Fig Classic Stampin' Pad and Cherry Cobbler Classic Stampin' Pad for the patterns, and Daffodil Delight Classic Stampin' Pad  for the flames.


As these are both two (or four) step stamping examples, I've done a step by step collage below of how I created my cards:


The cards could be left with the single coloured image in the middle, however, I felt they needed a bit more so added the outline image randomly over the rest of the card, overlapping onto Grid Paper when stamping off the edges of the card.  I love the finished look!  Even my other half said "ooh they look like those fancy posh ones you get in the shops!"  - best compliment I think he's given me so far ;)


Don't be afraid to test out on the paper first - I actually lined up my solid stamps with the image on the Grid Paper then put the Clear Block onto it so I knew that it was straight and would line up exactly! 


So, for the details you've been waiting for!  There are three ways to get your hands on this stamp set, you could:


1 - Place your own order of £250, before shipping and handling, on my Online Shop or with me in person 


2 - Club together with friends to place a combined order of £250, before shipping and handling, again on my Online Shop as one order, or with me in person (Note: only one Merry Patterns stamp set can be redeemed per order of £250 so you can fight among yourselves who gets the set or you can be nice about it and share it between you, I'll leave that up to you!)


Or, 3 - you could place an order of £25 (or more) on my Online Shop using host code K4BU9MA6 to be entered into a prize draw to WIN the set.  You will receive one entry for every £25 spent, before shipping and handling - i.e if you place an order for £50 of product, you will receive 2 entries into the draw! 

Terms and conditions:

  • All orders placed in person must have completed order forms and payment to be with me by 7pm Monday 30th October 2017.  Please contact me for an order form on 07841518863, or via Facebook @Jenfielou.StampinUp
  • For Online Orders :
    • Orders of £250+ The Merry Patterns Stamp Set code 144973 will ALSO need to be added - add this into the Rewards section prior to checkout - It will NOT be added automatically, if you do not complete this step I cannot guarantee that you will receive the set! 
    • Orders under £250, please use the host code K4BU9MA6, orders must be placed by 8pm Tuesday 31st October 2017.  Orders placed after this time will not be counted for the prize draw, but will still be processed!  
I will send all customers a thank you for entering!
Good luck and Happy Stamping!

Jenfie
xx

Monday 16 October 2017

Quilted Christmas with a Cookie Cutter Surprise!

A little late...ok a week and a day late posting but we had a lovely afternoon last Sunday at our Christmas Card Create Class.  We had 4 lovely ladies attend and spent a few hours having a lot of fun creating three cards, whilst enjoying some delicious home made scones (mum made not me!) 

For the first two cards of the afternoon, 


we used the Quilted Christmas Suite:
This first card was cased from the 2017 Autumn/Winter seasonal catalogue (the one right in the middle there!).  


Here is my card:


We cut a sheet of Garden Green A4 Cardstock in half then folded in half to create an A6 card blank.  We used the triangle and stitched triangle dies from Quilt Builder Framelits Dies to cut out three triangles from a sheet of Quilted Christmas 6"x6" Designer Series Paper.  Using the Christmas Quilt Photopolymer Stamp Set we stamped two triangles (in co-ordinating colours) and added the stitched triangle around them in a contrasting colour, then again used the die to cut them out.  Lining these up across the card so they overlapped slightly, we stuck three straight to the Whisper White Card strip, raised two up on Stampin' Dimensionals, and then added one of the tree Stitched Felt Embellishments.  


To stamp the greeting "Christmas" we used the "Have yourself a merry little Christmas" stamp...but to only ink up the word Christmas we used the Real Red marker from the Old Olive & Real Red Stampin' Write Markers pack!  This was stamped onto a strip of Powder Pink A4 Cardstock trimmed to a banner using Paper Snips and again adhered with Stampin' Dimensionals.  Stitching was added underneath the image using the xxx stamp in Garden Green.

The second card was a quick and easy card, and again was cased from the catalogue but ended up a cross between the two cards shown:


Cutting a 10cm square card blank (20cm x 10cm folded in half along the long side, just to clarify!) in Real Red A4 Cardstock.  A 9cm square of Quilted Christmas 6"x6" Designer Series Paper was adhered to the card front.  Another small strip of stitched DSP was adhered to a piece of Whisper White Card.  The sentiment "Have yourself a merry little Christmas" and the button hole stitch stamps were used in Garden Green and Real Red leaving a space for the star Stitched Felt Embellishments.  All adhered using Tombow Multipurpose Liquid Glue.  A small bow in Whisper White Solid Baker's Twine was added to the middle of the star just to finish it off using a Glue Dot.


For the final card of the day, we swapped sets and used the Cookie Cutter Christmas Photopolymer Stamp Set and Cookie Cutter Builder Punch.  I actually cased this card from fellow demonstrator Barb Conway, her gorgeous and elegant card is shown below:


Below is my cased version (in my opinion no where near as elegant but still cute!)


I stamped the reindeer in Early Espresso, and using Blender Pens coloured in using Early Espresso for the antlers and Crumb Cake for the faces.  I added a Real Red nose for one to be Rudolph!  I added three ribbons - Silver 3/8" Metallic-Edge RibbonCherry Cobbler 1/4" Double-Stitched RibbonQuilted Christmas 1/4" (6.4 mm) Ribbon - to the card blank using Fast Fuse Adhesive.  A length of Old Olive Baker's Twine was attached using Glue Dots.  The reindeer were attached using Stampin' Dimensionals.  The sentiment "Wishing you a season as sweet and joyful as the friendship we share." was stamped straight onto the card blank in Cherry Cobbler.

All our ladies were very happy with their card creations, all adding their own creative edits to their cards making each one of them unique!  I'm looking forward to seeing you all at a future class! 

Happy Stamping

Jenfie
x

Sunday 1 October 2017

October 2017 Offers

Hi Everyone

I can't believe it is the 1st October already!! However, this date marks the start of the new Stampin' Up! year - and what better way to kick it off is with a whole host of AMAZING offers! 

On Saturday 7th October it is World Card Making Day - to celebrate Stampin' Up! are offering 15% off selected card making essentials for 10 days ONLY! Click the image below to have a look at all the discounted stamp sets, note cards & envelopes, and if you're a fan of Fast Fuse there is a fab offer - for every Fast Fuse adhesive bought before 10th October, you'll get TWO refills absolutely free - saving a massive £14!  

 World Card Making Day - SPECIAL OFFERS
World Card Making Day - Special Offers


Some of the fantastic stamp sets included in the offer are the Daisy Delight Photopolymer Stamp Set, Coffee Cafe Photopolymer Stamp Set, Wood Words Clear and Wood Stamp Set, and the Oh So Eclectic Clear and Wood Mount Stamp Sets (look out for the next offer for savings on the co-ordinating papers!)

To mark the World Card Making Day occasion, the monthly Christmas Card Create class will be held on Sunday 8th October at 2pm in Chesterfield, Derbyshire.  There are a few places left if you would like to join us, please contact me to secure your place asap!  You can contact me by calling/texting 07841518863 or through my contact me form on my website jenfielou.stampinup.net or through Facebook @Jenfielou.StampinUp

For the whole of October there is an incredible saving to be had with our Designer Series Paper Sale - you can choose any 4 packs of paper from the selected packs, and you only pay for 3! Best part is - you choose which one you get free so you can save yourself the most money!! 

Designer Series Paper Sale
You'll see on the image above a selection of the papers included in the offer - these co-ordinate to some of the discounted stamp sets on the World Card Making Day offers so why not stock up and get the collections together before 10th October to make the most of the great savings?!  


Finally, there is still the Merry Patterns Host Promotion available throughout October - Do you fancy getting your hands on an exclusive stamp set not available for general purchase? Would you like to host a creative get-together with like-minded people? If so, you should become a Stampin' Up! party host in October and, with qualifiying orders, you will receive our amazing Merry Patterns stamp set for free, as well as your Stampin' Rewards!  Contact me now to check availability and to secure your preferred date before the end of the month!

Please get in touch if you have any questions or would like to place an order or book a party/craft class - I look forward to stamping with you soon!!

Jenfie
x